
Original Rhino
|

Original Leopard
|
|---|---|

Rhino-leopard
|
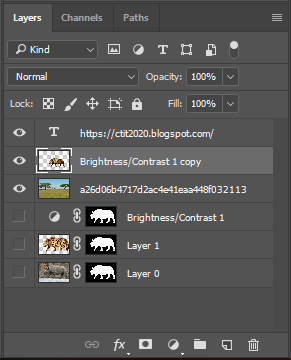
Layers
|
| -Begin the process by having the leopard and Rhino in two separate Photoshop files, then mask and remove the backgrounds of the animals -move the leopard file into the Rhino, using the place embedded feature in File, or alternatively, have the leopard layer in the same file as the rhino, and copy-paste the leopard, both ways create a clean outline of the leopard, but masking lets you fix any mistakes. -manipulate the leopard to closely fit the rhino as best as possible, whether that's using Cntr-T or morphing the leopard -the reason to have the leopard copy-pasted or embedded is to have the layer without a mask, because we're going to apply the mask of the Rhino, on to the leopard. - select the leopard layer, make sure you're not on the mask, the use the liquify tool in Filter>Liquify -you'll see a red border around what would be the Rhino, along with the leopard. the goal is to fill the blank shape with leopard, until completely full. don't worry about any overlap, because you've re-applied a mask, you can erase any of it. -while on the leopard layer, change the mode of the layer to Multiply, this will add the original shadows of the Rhino, making it look realistic |
|

Thursday, February 20, 2020
Photoshop Texture Change - Rhino Leopard
Subscribe to:
Post Comments (Atom)
No comments:
Post a Comment